
Michal Chudziak|26 Oct 2022
7 minutes readReact Native - Guide to Integration with Existing Apps [iOS]
![React Native - Guide to Integration with Existing Apps [iOS]](/_next/image?url=%2F_next%2Fstatic%2Fmedia%2Fposter.93213c84.png&w=3840&q=75)
Motivation
React Native is one of my favorite technologies, not only because it lets you write cross-platform apps quickly, but also because it interacts really well with underlying native technologies. This opens a lot of opportunities, as you can write native code and integrate it with React Native, but you can also do it other way around - add a view or user flow written in React Native into the existing native application. So-called brownfield integrations are often a great strategy to gradually adopt React Native and possibly eventually replace the native implementations.
The framework evolves quickly, and there’s been a tremendous effort to adapt the new architecture in React Native. Due to many ongoing changes in the native side of the framework, it’s hard to keep up with updates that are needed in the documentation in certain areas. One of these areas is a guide on integration with the native apps, a topic that is not as popular as, for example, writing native modules. Nevertheless it is an important source of knowledge for many people. The guide is pretty straightforward and focuses on essential aspects, but there are several advanced concepts that could benefit from better documentation.
This article aims to broaden and update the available resources on this topic. Because I understand that maintaining the documentation should be a common effort, I’m following up with the PR to the docs, and writing an article to extend the available resources.
Prerequisites
This material focuses on explaining the basic concepts required for such integration and explaining what happens under the hood. That’s why I’m going to focus on adding the whole React Native environment to an existing native app. It’s not something you’d want to do in most cases, as you’re going to add a lot of unnecessary complexity and tooling for the native teams. I will explain a more advanced setup that solves this issue in the following articles.
This means that for the sake of this article, you should follow iOS environment setup for RN CLI Quickstart, which is available on the docs.
Integrating React Native Dependencies
Directory Structure
React Native documentation suggests putting native files in the
/ios folder for a smooth experience. Indeed, doing so will reduce the overall number of steps you will need to complete in order to integrate React Native onto the native app. But often you can’t afford to change the directory structure. That’s why I’ll focus on integrating RN into a project root level ./. In order to adjust it to your desired structure, you will need to fix the relative paths to the node_modules.Adding React Native Dependencies
Let’s start with adding React Native dependencies. In order to do this, you will need to create a new
package.json file and choose the one of the target versions of React Native. I’m going to use RN 0.70.2 in this tutorial, but you can choose another version. You just need to remember to keep React and React Native versions aligned.1
2
3
4
5
6
7
8
{
"name": "BrownfieldPlayground",
"version": "1.0.0",
"dependencies": {
"react": "18.1.0",
"react-native": "0.70.2"
}
}Now, you just need to install the following dependencies using
yarn or npm i.Using CocoaPods
React Native uses CocoaPods for native package management on iOS. While it’s not absolutely necessary to use CocoaPods, it would be really painful to integrate RN without it, as that would require manual linking of React Native and 3rd party deps. I will show you how to avoid using CocoaPods and rely on your favorite native package manager in the packaging article (to be released soon).
For now, if you don’t have CocoaPods integrated into your project, initialize it using the
pod init command. After the Podfile is created, fill it with the following content:1
2
3
4
5
6
7
8
9
10
11
12
13
14
15
16
17
18
19
20
21
22
23
24
25
26
require_relative './node_modules/react-native/scripts/react_native_pods'
require_relative './node_modules/@react-native-community/cli-platform-ios/native_modules'
platform :ios, '12.4'
install! 'cocoapods', :deterministic_uuids => false
target 'BrownfieldPlayground' do
config = use_native_modules!
flags = get_default_flags()
use_react_native!(
:path => config[:reactNativePath],
:hermes_enabled => flags[:hermes_enabled],
:fabric_enabled => flags[:fabric_enabled],
:flipper_configuration => FlipperConfiguration.enabled,
:app_path => "#{Pod::Config.instance.installation_root}"
)
post_install do |installer|
react_native_post_install(
installer,
:mac_catalyst_enabled => false
)
__apply_Xcode_12_5_M1_post_install_workaround(installer)
end
endNow what’s going on in this file?
First, we import files that handle adding React Native dependencies (react_native_pods) and autolinking (native_modules).
1
2
require_relative './node_modules/react-native/scripts/react_native_pods'
require_relative './node_modules/@react-native-community/cli-platform-ios/native_modules'They contain methods that are later used within the target and specify required Pods and scripts. The first method that’s invoked is called use_native_modules, and it handles the autolinking of native modules into your app.
1
use_native_modules!Then we have methods for importing default configuration and adding React Native pods to the app.
1
2
get_default_flags()
use_react_native!(config)Then we use imported postinstall scripts to solve the build issues in specific environments.
1
2
react_native_post_install(installer, ...)
__apply_Xcode_12_5_M1_post_install_workaround(installer)After fixing the contents of the Podfile, simply run
pod install and open the newly created .xcworkspace file. Notice that a lot of react-related pods have appeared in your workspace.
Adding React Native Build Phases
The next step is optional for the integration, but it is very convenient to add it, as otherwise you’d have to start metro and bundle JS code and assets manually.
First, we’ll add a script to Bundle React Native code and assets for Release builds. In order to do this, let’s add a new Run Script Phase in the Build Scripts tab.
1
2
3
4
5
6
set -e
WITH_ENVIRONMENT="./node_modules/react-native/scripts/xcode/with-environment.sh"
REACT_NATIVE_XCODE="./node_modules/react-native/scripts/react-native-xcode.sh"
/bin/sh -c "$WITH_ENVIRONMENT $REACT_NATIVE_XCODE"Then, let’s add another script phase to Start metro bundler for development purposes:
1
2
3
4
5
6
7
8
9
10
11
12
export RCT_METRO_PORT="${RCT_METRO_PORT:=8081}"
echo "export RCT_METRO_PORT=${RCT_METRO_PORT}" > "${SRCROOT}/node_modules/react-native/scripts/.packager.env"
if [ -z "${RCT_NO_LAUNCH_PACKAGER+xxx}" ] ; then
if nc -w 5 -z localhost ${RCT_METRO_PORT} ; then
if ! curl -s "http://localhost:${RCT_METRO_PORT}/status" | grep -q "packager-status:running" ; then
echo "Port ${RCT_METRO_PORT} already in use, packager is either not running or not running correctly"
exit 2
fi
else
open "$SRCROOT/node_modules/react-native/scripts/launchPackager.command" || echo "Can't start packager automatically"
fi
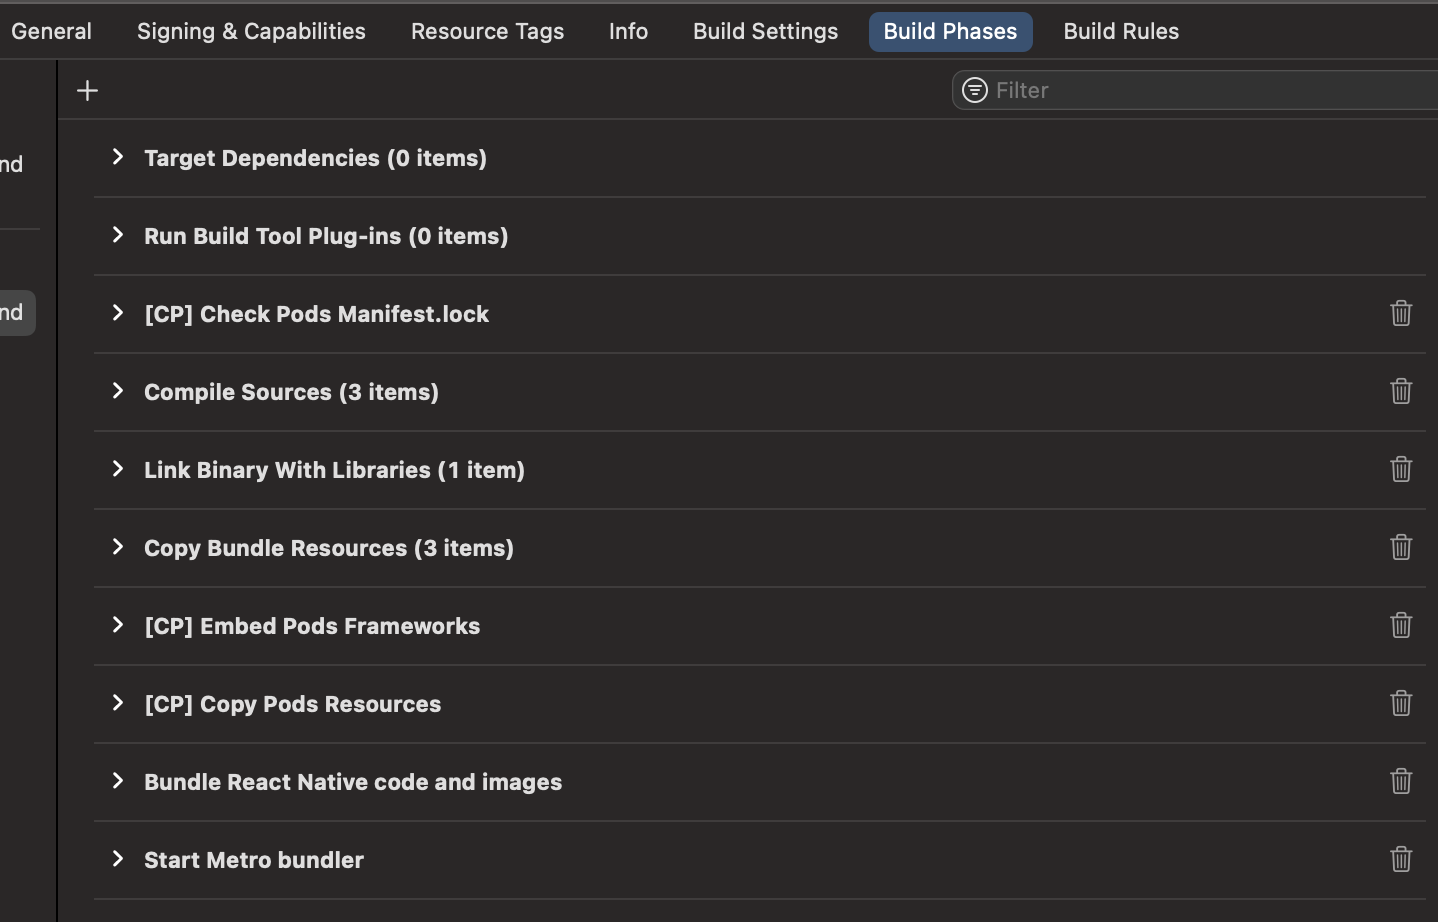
fiOur target build phases should look as follows:
JavaScript Entry Point and AppRegistry
Create JS Entry Points
We’ll start with creating a simple
index.js file in the root folder and creating a simple React component within it.index.js1
2
3
4
5
6
7
8
9
10
11
12
13
14
15
16
17
18
19
20
21
22
23
24
import React from "react";
import { View, Text, StyleSheet, AppRegistry } from "react-native";
const MyReactComponent = ({text}) => (
<View style={styles.container}>
<Text style={styles.label}>
{text}
</Text>
</View>
)
const styles = StyleSheet.create({
container: {
flex: 1,
justifyContent: "center",
alignItems: "center",
backgroundColor: "#FFFFFF"
},
label: {
fontSize: 20,
},
});
AppRegistry.registerComponent('MyReactComponent', () => MyReactComponent);The
index.js (or any other file) is a starting point for our JS bundle. Unless you are using some tools that will fragment your JS bundle (like Re.pack), it will be unique and it will always be required. This file will be evaluated while loading your JS bundle, and on iOS it will happen when we initialize RCTBridge.The other important thing that’s going on in this file is the registration of a React component to the AppRegistry. This will serve as an entry point for our React component tree. You can register multiple components to AppRegistry and attach them to the native UI tree using the RCTRootView. When instantiating RCTRootView, only the code within the component function will be executed.
To visualize this better, consider the following enhancements to our code:
index.js1
2
3
4
5
6
7
8
9
10
11
12
13
14
import React from "react";
import { View, Text, StyleSheet, AppRegistry } from "react-native";
console.log('A')
const MyReactComponent = ({text}) => {
console.log('B')
return (
<View style={styles.container}>
<Text style={styles.label}>
{text}
</Text>
</View>
)
}The first console log (A) will be executed when the instance of RCTBridge is created, and the second (B) will be executed when we instantiate RCTRootView that references
MyReactComponent.Creating a Bridge
Creating an RCTBridge
RCTBridge is a bridge between the native and JavaScript realms. From the native perspective we can describe it as an async batched bridge that is used to communicate with the JavaScript application. It has one main constructor to initialize with bridge delegate and launch options (for example passed from app delegate).
1
- (instancetype)initWithDelegate:(id<RCTBridgeDelegate>)delegate launchOptions:(NSDictionary *)launchOptions;Instantiating the bridge loads the JavaScript bundle and evaluates js contained in the entry file (in our case
index.js).The bridge delegate protocol requires us to implement one method: sourceURLForBridge. This should point to the location of the JavaScript source file. When running from the packager it should be a remote URL, for example: http://localhost:8081/index.ios.bundle and when using a local file (for example in production), you should put a path pointing to a relevant app resource, eg. file://.../main.jsbundle.
It’s generally a good practice to create and store one instance of a bridge and reuse it across modules. I like to use the singleton pattern for doing this, but you can use any other technique as long as you’ll be able to:
- choose the right moment to instantiate the bridge
- reuse previously created instance of the bridge across modules
BridgeManager.swift1
2
3
4
5
6
7
8
9
10
11
12
13
14
15
16
17
18
19
20
21
22
import Foundation
import React
class BridgeManager: NSObject {
static let shared = BridgeManager()
var bridge: RCTBridge?
public func loadReactNative(launchOptions: [AnyHashable: Any]?) {
bridge = RCTBridge(delegate: self, launchOptions: launchOptions)
}
}
extension BridgeManager: RCTBridgeDelegate {
func sourceURL(for bridge: RCTBridge!) -> URL! {
#if DEBUG
return RCTBundleURLProvider.sharedSettings().jsBundleURL(forBundleRoot: "index")
#else
return NSBundle.main.url(forResource: "main", withExtension: "jsbundle")
#endif
}
}Then, in AppDelegate’s didFinishLaunchingWithOptions, simply instantiate the bridge and load JS. Of course, you might choose any other point in your application, but please keep in mind that this takes a while, so it’s often done before the app becomes interactive.
AppDelegate.swift1
2
3
4
func application(_ application: UIApplication, didFinishLaunchingWithOptions launchOptions: [UIApplication.LaunchOptionsKey: Any]?) -> Bool {
BridgeManager.shared.loadReactNative(launchOptions: launchOptions)
return true
}Listening to JavaScript Loaded Event
There are some cases in which you might need to invoke a code when the JavaScript is loaded and React Native is ready to render the content. In order to do that, we will need to use NSNotificationCenter, a notification dispatch mechanism that enables the broadcast of information to registered observers. React Native will dispatch a RCTJavaScriptDidLoadNotification once it’s ready. Should you need to use it, simply add an observer in your class.
1
2
3
4
5
@objc func jsLoaded(_ notification: Notification){
callback()
}
NotificationCenter.default.addObserver(self, selector: #selector(jsLoaded(_:)), name: NSNotification.Name.RCTJavaScriptDidLoad, object: nil)Attaching a Root View
It’s time to attach the React Native Root View to our view hierarchy. In order to do that we’ll use an RCTRootView root view class. This class has three main initializers that can be used to instantiate it.
1. Initialize with Bundle URL
1
2
3
4
- (instancetype)initWithBundleURL:(NSURL *)bundleURL
moduleName:(NSString *)moduleName
initialProperties:(nullable NSDictionary *)initialProperties
launchOptions:(nullable NSDictionary *)launchOptions;This is a convenience initializer that’s used when the app has a single RCTRootView (that’s usually the root view of a whole application).
First you will need to pass a bundle URL - it’s either a remote URL to connect to the packager, or location of the jsbundle file.Then,pass a module name, the name of the component registered in AppRegistry. Finally, a map with initial properties that will be passed as a prop into initial properties.
This instantiates the RCTBridge under the hood and uses the following instance. I don't recommend using this initializer unless you have a pure React Native app, as each Root View will create its own RN bridge. On top of that, you don't have control on when to load the JS (execute index.js file), as it happens automatically after creating an instance of the root view. This could for example cause content flashes.
2. Initialize with frame and bridge
1
2
3
4
- (instancetype)initWithFrame:(CGRect)frame
bridge:(RCTBridge *)bridge
moduleName:(NSString *)moduleName
initialProperties:(nullable NSDictionary *)initialPropertiesThis is the initializer that we are going to use, and which is used in most of the brownfield applications. You pass the initial frame, the instance of a RCTBridge, module name, and initial properties. Usually the frame will be equal to the parent’s bounds, and the instance of the bridge will be passed by some custom holder (ie. singleton).
3. Initialize with empty frame and bridge
1
2
3
- (instancetype)initWithBridge:(RCTBridge *)bridge
moduleName:(NSString *)moduleName
initialProperties:(nullable NSDictionary *)initialProperties;This is also a convenience initializer you can use when you don’t want to pass the initial frame. It defaults to the CGRectZero.
In our case we’ll use the third constructor, as we’ll be replacing ViewController’s main view. In most cases you’ll either use that or pass parent’s bounds as an initial frame (eg. when adding it as a subview). Simply grab a previously created instance of a bridge and pass it onto the component. At this point, we’ll also pass a module name and initial properties.
ViewController.swift1
2
3
4
5
6
7
8
9
10
11
12
13
14
15
import UIKit
import React
class ViewController: UIViewController {
override func viewDidLoad() {
super.viewDidLoad()
if let bridge = BridgeManager.shared.bridge {
view = RCTRootView(
bridge: bridge,
moduleName: "MyReactComponent",
initialProperties: ["text": "Hello world!"]
)
}
}
}Finishing Touches
Adding Exception Domains
There are two additional steps we'll need to take in order to ensure that our app will fully support React Native in development and release modes. First, you’ll need to add the App Transport Security exception domain, in order to connect to the packager. Head to Info.plist and add the following fields:

If you prefer to edit XML, you can open this file as a text file and add following lines:
1
2
3
4
5
6
7
8
9
10
11
12
13
14
15
16
17
18
19
20
21
<key>NSAppTransportSecurity</key>
<dict>
    <key>NSExceptionDomains</key>
    <dict>
        <key>localhost</key>
        <dict>
            <key>NSTemporaryExceptionAllowsInsecureHTTPLoads</key>
            <true/>
        </dict>
    </dict>
</dict><key>NSAppTransportSecurity</key>
<dict>
    <key>NSExceptionDomains</key>
    <dict>
        <key>localhost</key>
        <dict>
            <key>NSTemporaryExceptionAllowsInsecureHTTPLoads</key>
            <true/>
        </dict>
    </dict>
</dict>
Adding Window Reference
The other thing that your app could be missing is a window field in your app delegate. This will be accessed by internal React Native APIs, so it’s important to make sure it's there.
AppDelegate.swift1
2
3
4
5
6
7
8
class AppDelegate: UIResponder, UIApplicationDelegate {
  var window: UIWindow?
  func application(_ application: UIApplication, didFinishLaunchingWithOptions launchOptions: [UIApplication.LaunchOptionsKey: Any]?) -> Bool {
      window = UIWindow.init(frame: UIScreen.main.bounds)
      BridgeManager.shared.loadReactNative(launchOptions: launchOptions)
      return true
  }
}
Supporting Flipper
If you have not opted-out Flipper in Podfile, the dependencies should be added automatically in the development mode. However, there’s an additional step required for Flipper to work. We need to initialize it in our AppDelegate file. In order to do this, we can use the RCTAppSetupPrepareApp helper from React Package, which takes care of initializing Flipper and enabling/disabling turbo modules if certain flags are set.
AppDelegate.swift1
2
3
4
5
6
7
8
9
10
import React

@main
class AppDelegate: UIResponder, UIApplicationDelegate {
    func application(_ application: UIApplication, didFinishLaunchingWithOptions launchOptions:
        …
        RCTAppSetupPrepareApp(application)
        return true
    }
}
Summary
That’s just about everything you need to do in order to perform a simple integration for React Native 0.70+. Here’s what the app should look like if you followed the outlined steps:
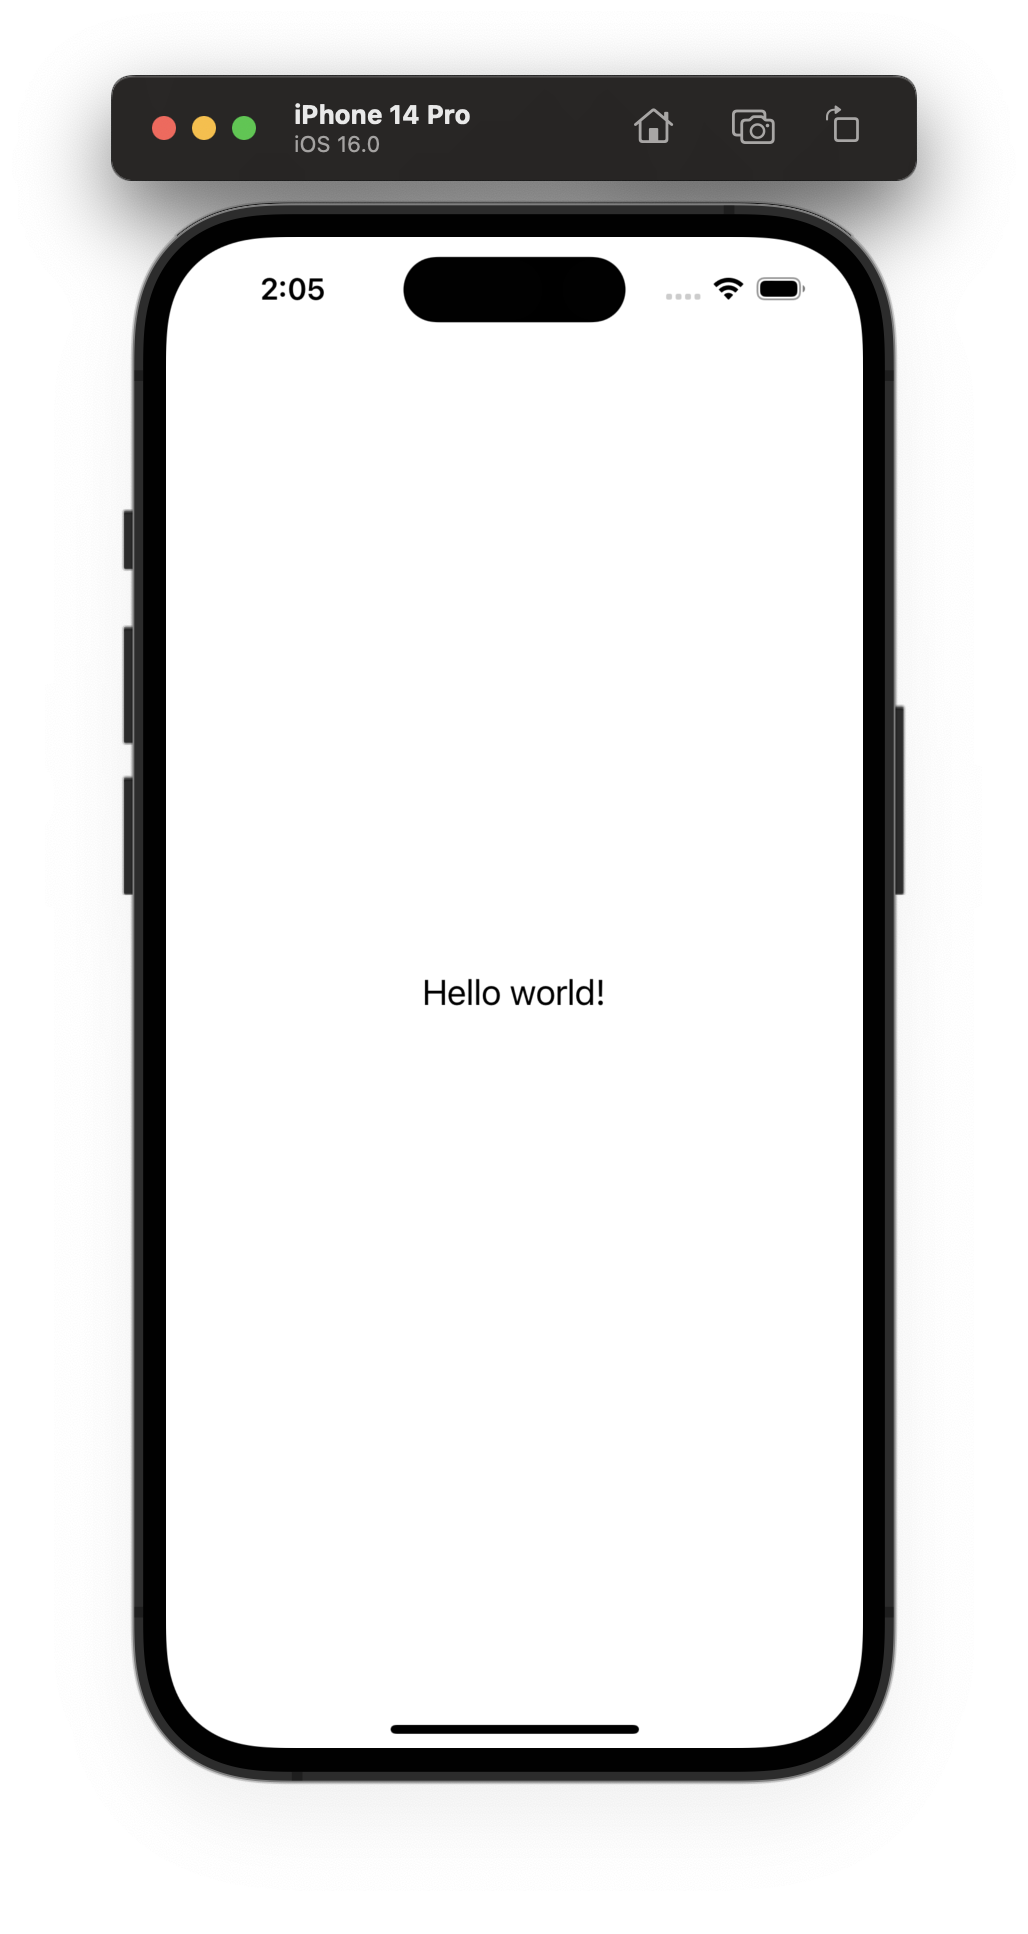
You can take a look at this example repo to see it in action. This setup, however, requires the introduction of React Native files and configuration directly to the codebase. Often that’s not what you want to do, and there are better alternatives. You can read about them here.