
Michal Chudziak|26 Oct 2022
7 minutes readReact Native - Guide to Integration with Existing Apps [Android]
![React Native - Guide to Integration with Existing Apps [Android]](/_next/image?url=%2F_next%2Fstatic%2Fmedia%2Fposter.93213c84.png&w=3840&q=75)
Motivation
I’m really enthusiastic about React Native and the way it composes with the native technologies. I’ve been interested in topics related to so-called brownfield integrations for quite a while now. I owe a lot to the amazing React Native community, and I would like to contribute back to it by expanding the available resources in this domain. In you’re interested in a more detailed explanation of my motivation, feel free to check out my iOS article. If not, let’s jump into the business at hand.
Prerequisites
In this article, we’ll go through the key elements of brownfield integration for Android. We’ll integrate React Native dependencies directly into the native Android app, which is ok for learning purposes or small projects, but usually you'll want to follow the more independent approach described in the advanced guide.
Let’s begin by following the Android environment setup for RN CLI Quickstart from React Native documentation.
Integrating React Native Dependencies
Directory Structure
Similarly to the approach taken in the iOS guide, for learning purposes we’ll opt out from the recommended approach to put all the files to the
/android folder. The native apps usually live in their own project directory, and changing the paths is fairly simple. Moreover, it encourages us to understand what’s really happening instead of simply copy-pasting the code. Please pay attention to these paths, as you may need to adjust them to point to the node_modules.Adding React Native Dependencies
We’ll begin by adding the dependencies necessary to run React Native. Let’s create a new
package.json file and choose the React Native version. Please keep in mind that a specific React version is bound to a given React Native version. You can look up React Native’s peer dependencies to find appropriate React version.1
2
3
4
5
6
7
8
{
"name": "BrownfieldPlayground",
"version": "1.0.0",
"dependencies": {
"react": "18.1.0",
"react-native": "0.70.2"
}
}Simply run
yarn or npm i to install React Native dependencies.Fixing CLI Configuration
This step is usually omitted when the android project root is under the
/android folder, but because we want to keep it on the root level, we’ll need to configure the CLI using a react-native.config.js file, which should look as follows:1
2
3
4
5
6
7
module.exports = {
project: {
android: {
sourceDir: '.',
},
},
}Adding Gradle Dependencies
Now it's time to jump into the native side. We'll begin by adding repositories to our dependency management. Head to the
settings.gradle file and add the following repositories to the dependencyResolutionManagement section.1
2
3
4
5
6
7
8
9
10
11
12
13
14
15
16
17
18
dependencyResolutionManagement {
...
repositories {
maven {
url("$rootDir/node_modules/react-native/android")
}
maven {
url("$rootDir/node_modules/jsc-android/dist")
}
mavenCentral {
content {
excludeGroup "com.facebook.react"
}
}
google()
maven { url 'https://www.jitpack.io' }
}
}Alternatively, you can use your project's
build.gradle file and add them in the allprojects block.1
2
3
4
5
allprojects {
...
repositories {
...
}NOTE: you don’t need to add JSC-android source if you use Hermes and want to avoid using JSC at all.
Adding React Native CLI Gradle Scripts
Once the dependencies are added, it’s time to add React Gradle scripts. To do this, simply open the
app/build.gradle file and following lines:1
2
3
4
5
6
project.ext.react = [
enableHermes: true,
root: "../"
]
apply from: "../node_modules/react-native/react.gradle"First, we configure react scripts passing a hash map to the project.ext.react. This step might be optional if you use
/android as a project root folder and if you want to opt-out from hermes. In our case we need a custom root and we want to use hermes as a JS engine, hence this configuration.Next, we apply react.gradle scripts that add some afterEvaluate scripts that are necessary for bundling JavaScript code and assets and linking them to the app.
Adding React Native Dependencies
We continue working in the
app/build.gradle file, as we need to include React Native dependencies in the project. We’ll start by defining a helper flag. This step is optional, but it is helpful if you’d like to be able to toggle between JSC and Hermes. If you’d like to use just one, feel free to omit this step.1
def enableHermes = project.ext.react.get("enableHermes", false);Then, we head to the dependencies section and start adding dependencies required for React Native to work properly. The complete section should look like this:
1
2
3
4
5
6
7
8
9
10
11
12
13
dependencies {
...
implementation "com.facebook.react:react-native:+"
implementation "androidx.swiperefreshlayout:swiperefreshlayout:1.0.0"
if (enableHermes) {
implementation("com.facebook.react:hermes-engine:+") {
exclude group:'com.facebook.fbjni'
}
} else {
implementation 'org.webkit:android-jsc:+'
}
}Let’s consider all the dependencies that were added. The first and most important one is React Native:
1
implementation "com.facebook.react:react-native:+"It simply adds pre-bundled React Native files from
node_modules/react-native/android, and it’s the essential module for any React Native app.Then we add swiperefreshlayout, as it’s used by React Native and isn’t included transitively.
1
implementation "androidx.swiperefreshlayout:swiperefreshlayout:1.0.0"Next, we need to add a JS engine, hence following lines:
1
2
3
4
5
6
7
if (enableHermes) {
implementation("com.facebook.react:hermes-engine:+") {
exclude group:'com.facebook.fbjni'
}
} else {
implementation 'org.webkit:android-jsc:+'
}You don’t need to create this condition if you want to choose just one JS engine. I’ve added it, as I want to be able to toggle between both easily.
Autolinking Native Modules
Starting from React Native 0.60, we can use autolinking to automatically link native dependencies to our app. This requires us to add some gradle scripts to our app. The first one should land in
settings.gradle:1
2
apply from: file("node_modules/@react-native-community/cli-platform-android/native_modules.gradle");
applyNativeModulesSettingsGradle(settings)These take care of adding appropriate dependencies to the dependencies section. It happens on the build time, so you don’t need to explicitly add them to your project.
Configuring Manifests
The last step, required to fix our builds (and some runtime functionalities), is configuring the manifests. We’ll use two separate
AndroidManifest.xml files - debug and release. In case you don’t have a debug manifest, create one in app/src/debug/AndroidManifest.xml. The contents should look as follows:1
2
3
4
5
6
7
8
9
10
11
12
13
<?xml version="1.0" encoding="utf-8"?>
<manifest xmlns:android="http://schemas.android.com/apk/res/android"
xmlns:tools="http://schemas.android.com/tools">
<uses-permission android:name="android.permission.SYSTEM_ALERT_WINDOW"/>
<application
android:usesCleartextTraffic="true"
tools:targetApi="28"
tools:ignore="GoogleAppIndexingWarning">
<activity android:name="com.facebook.react.devsupport.DevSettingsActivity" android:exported="false" />
</application>
</manifest>Let’s break down what’s happening here. First, we add SYSTEM_ALERT_WINDOW to display error overlay in debug. Next, we set android:usesCleartextTraffic to allow connection with Metro bundler. Finally, we include DevSettingsActivity to display the React Native settings context menu.
Release manifest usually doesn’t have to change that much. At this point we just need to ensure that the package name is set and add the INTERNET permission.
1
2
3
4
5
6
7
<?xml version="1.0" encoding="utf-8"?>
<manifest xmlns:android="http://schemas.android.com/apk/res/android"
xmlns:tools="http://schemas.android.com/tools"
package="com.example.brownfieldplayground">
<uses-permission android:name="android.permission.INTERNET" />
…
</manifest>At this point you should be able to sync the project with gradle files without any issues.
JavaScript Entry Point and AppRegistry
Create JS Entry Points
Let’s create a new
index.js file in the root folder and put a simple React component inside it. index.js1
2
3
4
5
6
7
8
9
10
11
12
13
14
15
16
17
18
19
20
21
22
23
24
import React from "react";
import { View, Text, StyleSheet, AppRegistry } from "react-native";
const MyReactComponent = ({text}) => (
<View style={styles.container}>
<Text style={styles.label}>
{text}
</Text>
</View>
)
const styles = StyleSheet.create({
container: {
flex: 1,
justifyContent: "center",
alignItems: "center",
backgroundColor: "#FFFFFF"
},
label: {
fontSize: 20,
},
});
AppRegistry.registerComponent('MyReactComponent', () => MyReactComponent);This file (which could be also replaced with another file, but you need to specify this in build and runtime files) will serve as a starting point for JavaScript. It’s usually unique (unless you use code-splitting), and you will need to specify it for each app. This file will be evaluated after loading the JavaScript bundle. On Android it happens when the React Context is created.
Next, we register the component to the AppRegistry, which is an entry point for the React component tree. Please keep in mind that you can register multiple components to AppRegistry and attach them to the native UI tree using ReactRootView. When creating an instance of ReactRootView, the code within the component body will be executed.
Summing this up, if we add the following console.logs to our app:
index.js1
2
3
4
5
6
7
8
9
10
11
12
13
14
import React from "react";
import { View, Text, StyleSheet, AppRegistry } from "react-native";
console.log('A')
const MyReactComponent = ({text}) => {
console.log('B')
return (
<View style={styles.container}>
<Text style={styles.label}>
{text}
</Text>
</View>
)
}The first one (A) will be executed when React Context is created, and the second one (B) will be run when we create the instance of ReactRootView that references MyReactComponent.
Creating a React Context
Creating React Native Host
On Android we’ll follow a similar, but slightly different approach than on iOS. We won't be instantiating a bridge per se, but rather creating React Native Host and React Context.
React Native Host is an abstract class that holds React Instance manager and exposes several configuration methods. You can use it to specify the main module name, bundle asset name, native packages, and other configurations. Like we did with iOS, we should do it once, store the instance, and re-use it across multiple instances of React Root View.
In order to store the instance of React Native Host (and in so doing the instance of React Instance Manager), we’ll follow a singleton pattern. Let’s create a BridgeManager file with loadReactNative function:
BridgeManager.kt1
2
3
4
5
6
7
8
9
10
11
12
13
14
15
16
17
18
19
20
21
22
23
24
25
26
27
28
29
30
31
32
33
34
35
package com.example.brownfieldplayground
import com.facebook.react.PackageList
import com.facebook.react.ReactNativeHost
import com.facebook.react.ReactPackage
import com.facebook.soloader.SoLoader
object BridgeManager {
var reactNativeHost: ReactNativeHost? = null
fun loadReactNative(activity: MainActivity) {
if (reactNativeHost == null) {
SoLoader.init(activity, false)
reactNativeHost = object : ReactNativeHost(activity.application) {
override fun getUseDeveloperSupport(): Boolean {
return BuildConfig.DEBUG
}
override fun getPackages(): MutableList<ReactPackage> {
return PackageList(application).packages
}
override fun getJSMainModuleName(): String {
return "index"
}
override fun getBundleAssetName(): String? {
return "index.android.bundle"
}
}
}
reactNativeHost?.reactInstanceManager?.createReactContextInBackground()
}
}As you can see, within the body of the function we do three things:
- initialize SoLoader, which takes care of loading and unpacking native libraries. (In this context, native means NDK libraries using languages such as C or C++)
- create React Native Host and store its instance in the singleton
- create React Context in the background
Now let me elaborate on the last two things. As you can see, while creating React Native Host, we pass the basic configuration by overriding methods. First, we provide getJSMainModuleName - the path to the entry file loaded by metro bundle. In our case its
index.js in the root folder, but you can also choose index.ts or a different file. Then we override getBundleAssetName - the name of an asset with the release bundle. It defaults to index.android.bundle. Next, we override getPackages - a method where we provide the list of native modules (PackageList class is automatically generated by auto linking) (If you have any local native modules, this is the place to pass the packages). Finally, we override getUseDeveloperSupport, which toggles the ability to display the dev context menu.Another thing that’s happening in the body of the loadReactNative function is the creation of React Native context using createReactContextInBackground. This method lets us pre-load JavaScript bundles, so we can do it for example at app startup, or any other convenient place, instead of when creating the React Root View.
There are several other configuration methods, like enabling lazy view managers, providing JSModulePackage, etc. I strongly recommend looking up the implementation of ReactNativeHost to see all options
Now in the main activity’s onCreate (or any other convenient place), simply call loadReactNative method. I usually do it on the app startup and hide the splash screen once it’s loaded.
1
BridgeManager.loadReactNative(this)Listening to JavaScript Loaded Event
Sometimes we need to do something once the JavaScript bundle is loaded. This is especially necessary on Android, as in most cases we need to hide the splash screen manually. That’s why React Instance Manager exposes an event listener that can be used to react when the bundle is loaded. In order to do this, simply call addReactInstanceEventListener on React Instance Manager and provide the callback that will be invoked once React Native is ready to render.
1
reactNativeHost.reactInstanceManager?.addReactInstanceEventListener { callback() }Attaching a Root View
Once everything is set, it's time to render a Root View. Contrary to on iOS, except for creating an instance of the Root View, we will need to call a startReactApplication method. This method accepts three arguments, an instance of React Instance Manager, the name of the module registered to AppRegistry and Bundle with initial properties. Let’s create an instance of the root view and render a MyReactComponent within the main activity’s onCreate.
NOTE: Keep in mind that in this example we call loadReactNative and startReactApplication within one method. Usually you’ll do this in a different place, as it takes a while to load JavaScript, and the content will not be rendered until it's done loading.
MainActivity.kt1
2
3
4
5
6
7
8
9
10
11
12
13
14
15
16
class MainActivity : AppCompatActivity() {
lateinit var reactRootView: ReactRootView;
override fun onCreate(savedInstanceState: Bundle?) {
super.onCreate(savedInstanceState)
BridgeManager.loadReactNative(this)
reactRootView = ReactRootView(this)
reactRootView?.startReactApplication(
BridgeManager.reactNativeHost?.reactInstanceManager,
"MyReactComponent",
bundleOf("text" to "Hello Brownfield")
)
setContentView(reactRootView)
}
}Finishing Touches
Fixing Dev Permissions for Error Overlay
Due to the fact that the Redbox must be displayed above other windows, we need to make sure that SYSTEM_ALERT_WINDOW is enabled in development builds. If the app targets API level 23 or higher, the app user must explicitly grant this permission to the app through a permission management screen. That’s why we need to add the following code to the MainActivity’s onCreate method.
1
2
3
4
5
6
7
if (Build.VERSION.SDK_INT >= Build.VERSION_CODES.M) {
if(!Settings.canDrawOverlays(this)) {
val intent = Intent(Settings.ACTION_MANAGE_OVERLAY_PERMISSION,
Uri.parse("package: $packageName"))
startActivityForResult(intent, OVERLAY_PERMISSION_REQ_CODE);
}
}Next, let’s override the onActivityResult method and handle when the permission is denied or granted.
1
2
3
4
5
6
7
8
9
10
11
override fun onActivityResult(requestCode: Int, resultCode: Int, data: Intent?) {
super.onActivityResult(requestCode, resultCode, data)
if (requestCode == OVERLAY_PERMISSION_REQ_CODE) {
if (Build.VERSION.SDK_INT >= Build.VERSION_CODES.M) {
if (!Settings.canDrawOverlays(this)) {
// SYSTEM_ALERT_WINDOW permission not granted
}
}
}
BridgeManager.reactNativeHost?.reactInstanceManager?.onActivityResult(this, requestCode, resultCode, data)
}Proxying lifecycle to React Instance Manager
In order for the app lifecycle to be fully aligned with React Native Instance Manager, we need to proxy the lifecycle methods from our Activity (or Fragment). Simply override the following lifecycles and invoke methods on the instance manager.
1
2
3
4
5
6
7
8
9
10
11
12
13
14
15
override fun onPause() {
super.onPause()
BridgeManager.reactNativeHost?.reactInstanceManager?.onHostPause(this)
}
override fun onResume() {
super.onResume()
BridgeManager.reactNativeHost?.reactInstanceManager?.onHostResume(this, this)
}
override fun onDestroy() {
super.onDestroy()
BridgeManager.reactNativeHost?.reactInstanceManager?.onHostDestroy(this)
reactRootView.unmountReactApplication()
}Handling Back Button
The next step would be to pass back button events to React Native. In order to do this, we need to override the onBackPressed method, implement DefaultHardwareBackBtnHandler, and proxy these events to React Instance Manager.
1
2
3
4
5
6
7
8
9
10
11
12
13
import com.facebook.react.modules.core.DefaultHardwareBackBtnHandler
class MainActivity : AppCompatActivity(), DefaultHardwareBackBtnHandler {
...
override fun onBackPressed() {
BridgeManager.reactNativeHost?.reactInstanceManager?.onBackPressed()
super.onBackPressed()
}
override fun invokeDefaultOnBackPressed() {
super.onBackPressed()
}
}Hooking the Dev Menu
The last step is to connect the keyboard listener to the dev context menu. In the react native app, when you tap the menu button, the context menu appears. In order for this functionality to work we need to override the onKeyUp (or onKeyDown) method and show the options dialog when a certain key is pressed. In order to do this, we need to add the following code to our Activity:
1
2
3
4
5
6
7
override fun onKeyUp(keyCode: Int, event: KeyEvent?): Boolean {
if (keyCode == KeyEvent.KEYCODE_MENU && BridgeManager.reactNativeHost?.reactInstanceManager != null) {
BridgeManager.reactNativeHost?.reactInstanceManager?.showDevOptionsDialog()
return true
}
return super.onKeyUp(keyCode, event)
}Supporting Flipper
If we'd like to use Flipper, we need to add Flipper dependencies that are used only in the debug builds. Of course this is an optional step, but I strongly recommend that you include it if you use hermes, as it strongly facilitates the debugging process.
1
2
3
4
5
6
7
8
9
10
debugImplementation("com.facebook.flipper:flipper:0.125.0") {
exclude group:'com.facebook.fbjni'
}
debugImplementation("com.facebook.flipper:flipper-network-plugin:0.125.0") {
exclude group:'com.facebook.flipper'
exclude group:'com.squareup.okhttp3', module:'okhttp'
}
debugImplementation("com.facebook.flipper:flipper-fresco-plugin:0.125.0") {
exclude group:'com.facebook.flipper'
}Besides that, we need to create a ReactNativeFlipper file in the debug folder (
debug/com/package/ReactNativeFlipper.java), which should look as follows. You can use it later to configure flipper plugins.ReactNativeFlipper.java1
2
3
4
5
6
7
8
9
10
11
12
13
14
15
16
17
18
19
20
21
22
23
24
25
26
27
28
29
30
31
32
33
34
35
36
37
38
39
40
41
42
43
44
45
46
47
48
49
50
51
52
53
54
55
56
57
58
59
60
61
62
63
64
65
66
67
package com.example.brownfieldplayground;
import android.content.Context;
import com.facebook.flipper.android.AndroidFlipperClient;
import com.facebook.flipper.android.utils.FlipperUtils;
import com.facebook.flipper.core.FlipperClient;
import com.facebook.flipper.plugins.crashreporter.CrashReporterPlugin;
import com.facebook.flipper.plugins.databases.DatabasesFlipperPlugin;
import com.facebook.flipper.plugins.fresco.FrescoFlipperPlugin;
import com.facebook.flipper.plugins.inspector.DescriptorMapping;
import com.facebook.flipper.plugins.inspector.InspectorFlipperPlugin;
import com.facebook.flipper.plugins.network.FlipperOkhttpInterceptor;
import com.facebook.flipper.plugins.network.NetworkFlipperPlugin;
import com.facebook.flipper.plugins.react.ReactFlipperPlugin;
import com.facebook.flipper.plugins.sharedpreferences.SharedPreferencesFlipperPlugin;
import com.facebook.react.ReactInstanceEventListener;
import com.facebook.react.ReactInstanceManager;
import com.facebook.react.bridge.ReactContext;
import com.facebook.react.modules.network.NetworkingModule;
import okhttp3.OkHttpClient;
public class ReactNativeFlipper {
public static void initializeFlipper(Context context, ReactInstanceManager reactInstanceManager) {
if (FlipperUtils.shouldEnableFlipper(context)) {
final FlipperClient client = AndroidFlipperClient.getInstance(context);
client.addPlugin(new InspectorFlipperPlugin(context, DescriptorMapping.withDefaults()));
client.addPlugin(new ReactFlipperPlugin());
client.addPlugin(new DatabasesFlipperPlugin(context));
client.addPlugin(new SharedPreferencesFlipperPlugin(context));
client.addPlugin(CrashReporterPlugin.getInstance());
NetworkFlipperPlugin networkFlipperPlugin = new NetworkFlipperPlugin();
NetworkingModule.setCustomClientBuilder(
new NetworkingModule.CustomClientBuilder() {
@Override
public void apply(OkHttpClient.Builder builder) {
builder.addNetworkInterceptor(new FlipperOkhttpInterceptor(networkFlipperPlugin));
}
});
client.addPlugin(networkFlipperPlugin);
client.start();
// Fresco Plugin needs to ensure that ImagePipelineFactory is initialized
// Hence we run if after all native modules have been initialized
ReactContext reactContext = reactInstanceManager.getCurrentReactContext();
if (reactContext == null) {
reactInstanceManager.addReactInstanceEventListener(
new ReactInstanceEventListener() {
@Override
public void onReactContextInitialized(ReactContext reactContext) {
reactInstanceManager.removeReactInstanceEventListener(this);
reactContext.runOnNativeModulesQueueThread(
new Runnable() {
@Override
public void run() {
client.addPlugin(new FrescoFlipperPlugin());
}
});
}
});
} else {
client.addPlugin(new FrescoFlipperPlugin());
}
}
}
}Then in our MainActivity (or MainApplication if we have multiple activities), we need to create and call the initializeFlipper method:
1
2
3
4
5
6
7
8
9
10
11
12
13
14
15
16
17
18
19
20
21
22
private fun initializeFlipper() {
  if (BuildConfig.DEBUG) {
      try {
          val aClass = Class.forName("com.example.brownfieldplayground.ReactNativeFlipper")
          aClass
              .getMethod(
                  "initializeFlipper",
                  this::class.java,
                  ReactInstanceManager::class.java
              )
              .invoke(null, this, BridgeManager.reactNativeHost?.reactInstanceManager)
      } catch (e: ClassNotFoundException) {
          e.printStackTrace()
      } catch (e: NoSuchMethodException) {
          e.printStackTrace()
      } catch (e: IllegalAccessException) {
          e.printStackTrace()
      } catch (e: InvocationTargetException) {
          e.printStackTrace()
      }
  }
}
And voila, you can now use the flipper to debug your brownfield application.
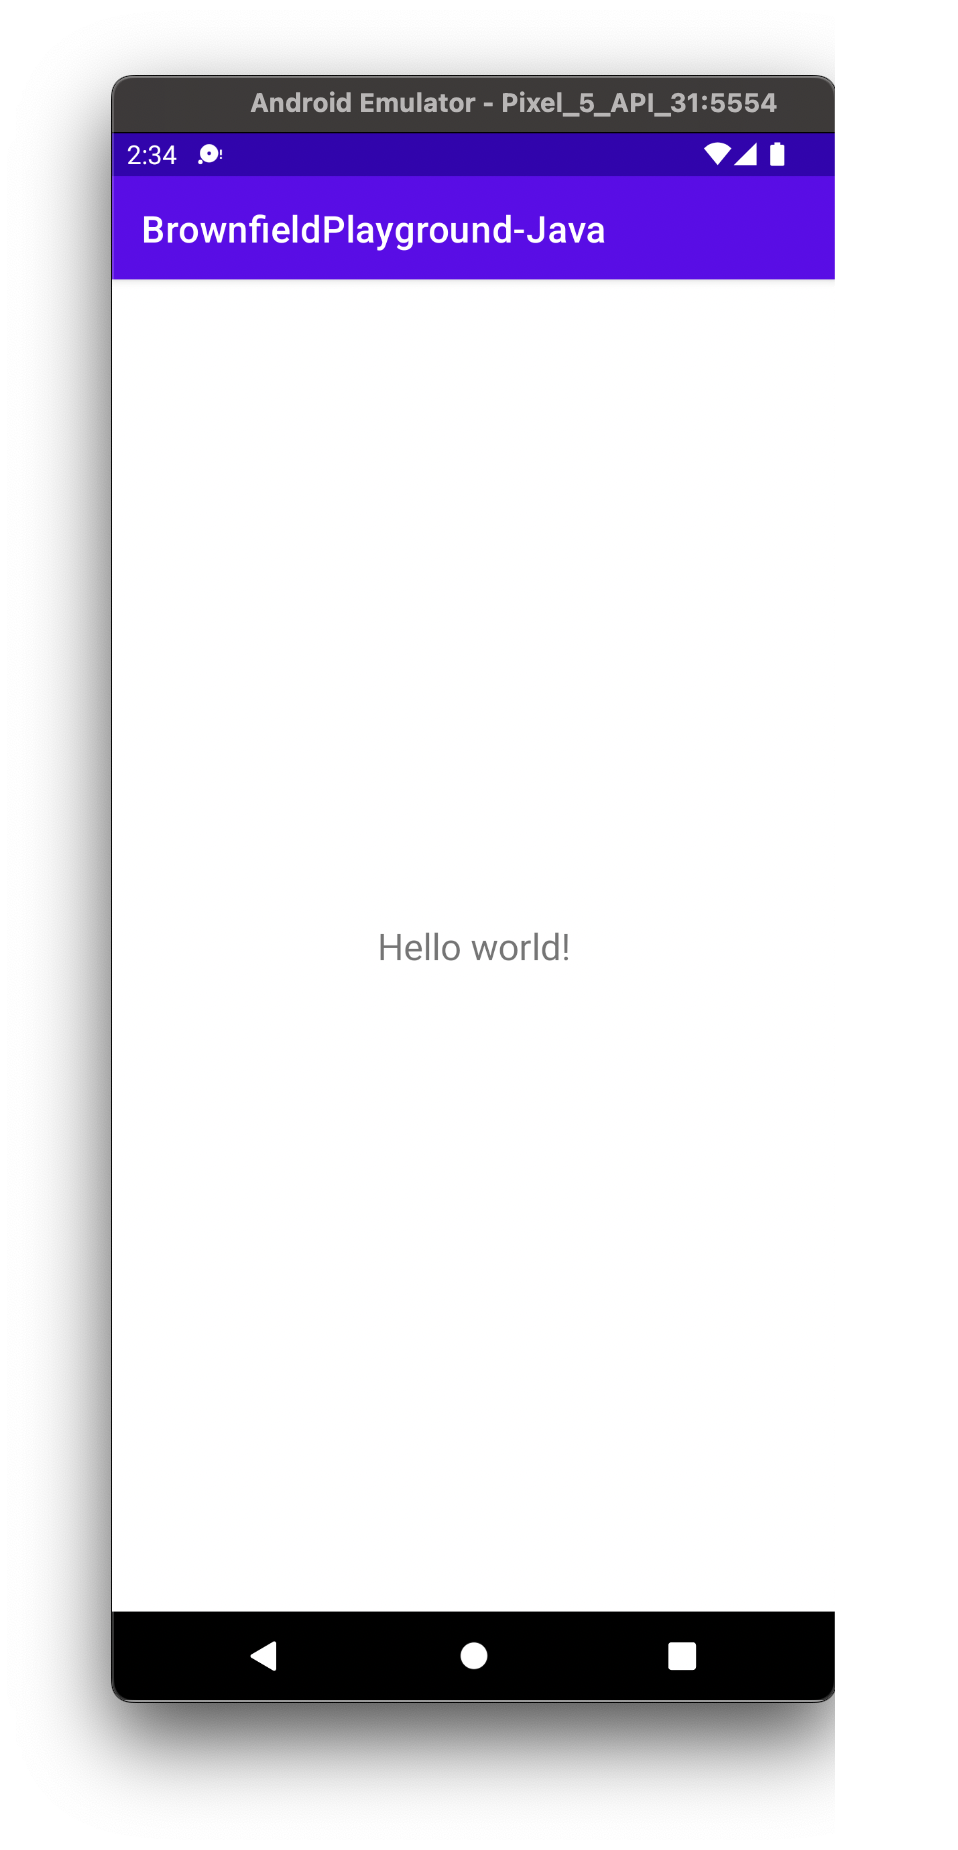
Summary
That’s all you need to do to integrate React Native 0.70+ to your Android application. Here’s the application:
If you’d like to see it in action, take a look at an example repo. As I mentioned at the beginning, this is a simple setup that introduces unnecessary complexity to the target codebase, so in real life you might consider the advanced setup described here.